Replacing Self-signed Certificate with Trusted Certificate
Replacing the PAM Self-signed SSL certificate with your own Trusted SSL Certificate.
The default installation of PAM includes a self-signed certificate that is deployed in order to provide web traffic encryption.
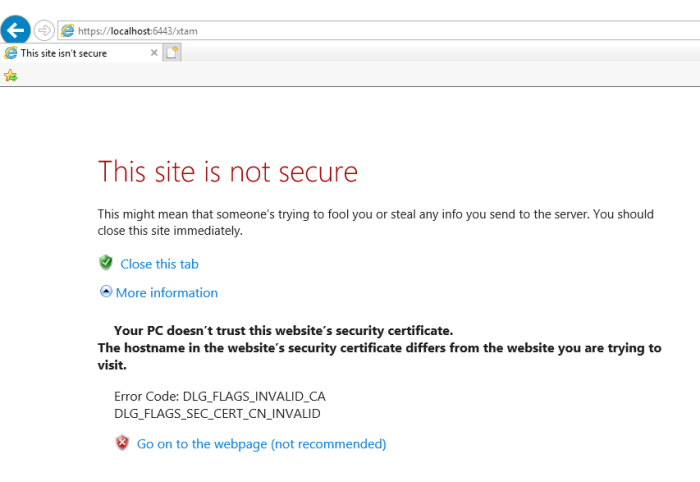
Because this is a self-signed, non-trusted certificate you will receive a security warning message in your browser.
Although you could choose to accept the warning and safely proceed to the secured localhost connection or deploy the self-signed certificate to your Trusted Root Certificate Authorities store, some may wish to simply replace it all together with their own, trusted certificate.

To replace our self-signed certificate with your trusted certificate, please perform the following steps.
PAM expects the certificate to be in either .jks or .pfx format. If you have the certificate (.crt), the private key (.key) and bundle (.crt) as individual files, you can combine them into a single, PKCS12 encrypted compatible pfx file using an OpenSSL command like the example shown below (input your actual file names): openssl pkcs12 -export -out “certificate.pfx” -inkey “private.key” -in “certificate.crt” -certfile “ca_bundle.crt”
- On the PAM installation host server open the file $PAM_HOME/web/conf/catalina.properties. Consider making a copy of the file before making any modifications.
- Scroll down to the section labeled # SSL Certificate
- Enter the $PAM_HOME path to your certificate for the parameter xtam.cert.path=
- Enter the password for your certificate in the parameter xtam.cert.password=
- Save and close this file.
- Restart the PamManagement (Windows) or pammanager (Linux) service.
- When the service restarts (takes ~1 minute to complete), your login page will now be located at the path defined in your certificate file rather than the default localhost. For example, https://yourDomain.company.com:6443/xtam.
To encrypt your password, open a command prompt, navigate to the $PAM_HOME directory and issue this command: bin\PamDirectory Encrypt – . During command execution, you will be prompted to enter the password. Copy the entire encrypted password string output and paste it to the xtam.cert.password= parameter.
Error 500 Troubleshooting
You need to add the certificate to your local machine.
Follow these instructions to import all certificates one by one present in the certificate chain.
-
Import new Wildcard certificate into the PAM Server keystore.
-
Login to the PAM host server using Admin account or elevated privileges.
-
Open the command prompt or shell and navigate to the $PAM_HOME directory(where the PAM System is installed).
-
From $PAM_HOME, enter the following command:
Example of Linux command would be:
bin/PamDirectory.sh SSLImport xton.imprivata.com 6443
Example of Windows command would be:
bin/PamDirectory.cmd SSLImport xton.imprivata.com 6443
Follow these instructions to import all certificates one by one present in the certificate chain. After completed, restart the PamManagement (Windows) or pammanager (Linux) service. The website should be available after ~ 5 minutes.