Integration with Microsoft Azure AD
PAM supports integration with Microsoft’s Azure AD cloud directory. The capabilities supported are user authorization (web and proxy), queries for search and group membership, and user profile attributes.
Prerequisites
A working Imprivata PAM deployment with the Federated Sign-In experience.
The required Azure subscription plan and an account with access to create and configure necessary applications in the Azure Portal.
Steps to configure Azure
-
In the Microsoft Azure portal, create a new or identify an existing application to be configured from App Registrations:

-
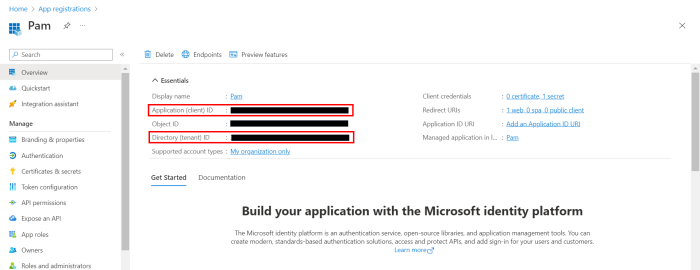
In the Microsoft Azure portal, navigate to the application you created or wish to reuse and copy IDs from Directory (tenant) ID and Application (client) ID boxes. These will be required to configure $PAM_HOME/web/conf/catalina.properties later:
-
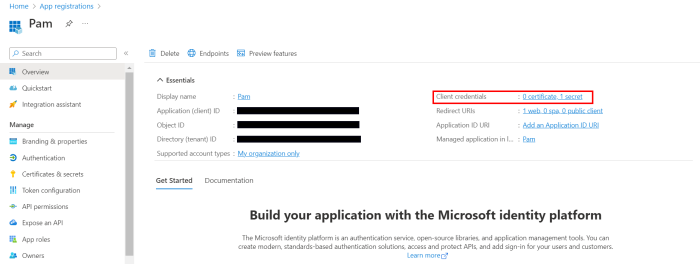
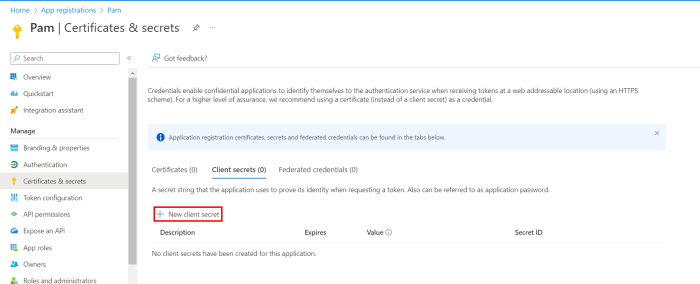
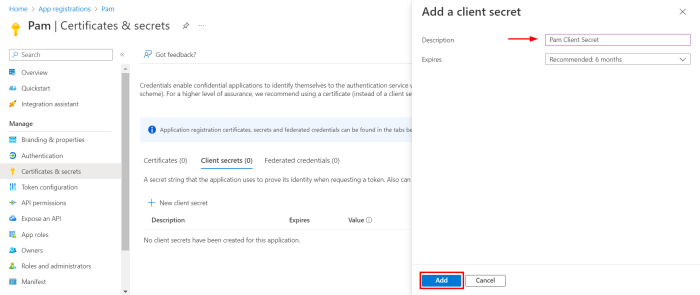
From the overview page of the registered app, Select Client credentials and create a new client secret:
-
Once added, copy the Value of the secret as this will be used to configure later.
$PAM_HOME/web/conf/catalina.properties
Note: Client secret values cannot be viewed, except for immediately after creation. Be sure to save/copy the secret when created before leaving this page and progressing further.
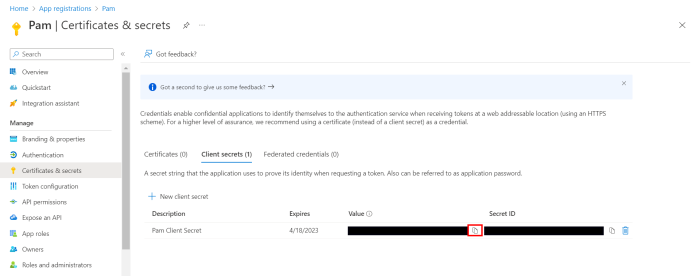
-
Add permissions to the registered app by navigating to API Permissions and selecting Add a permission:
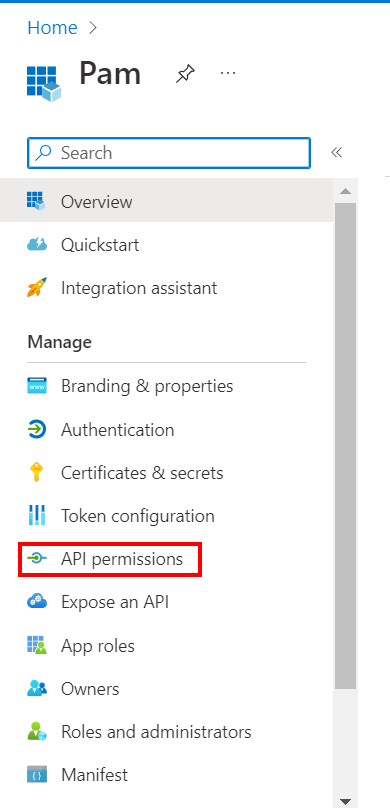
-
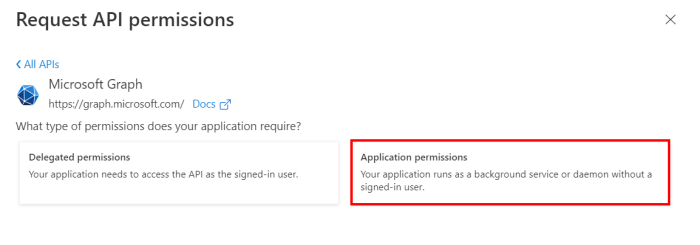
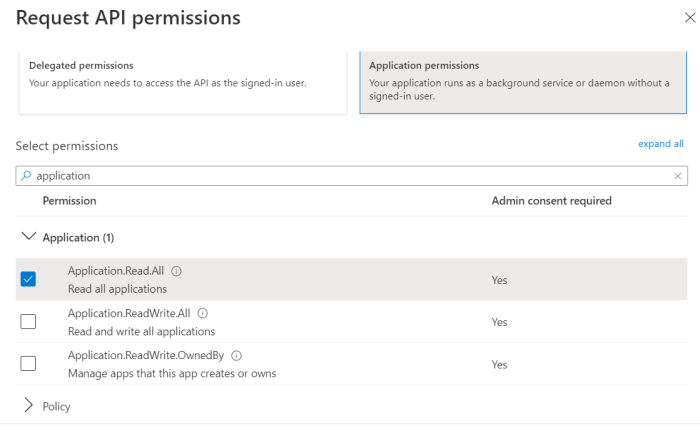
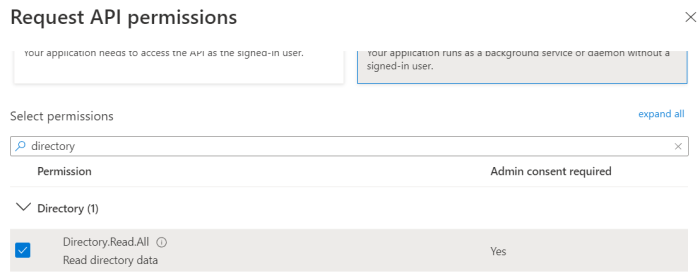
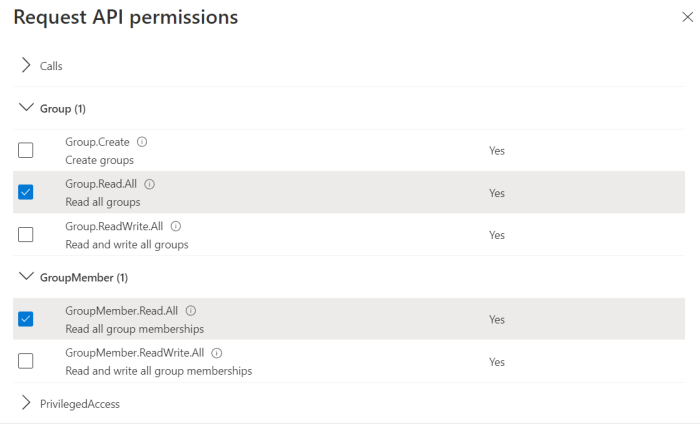
Select Application permissions and include the following requirements from the list of permissions:
-
Application.Read.All
-
Directory.Read.All
-
Group.Read.All
-
GroupMember.Read.All
-
User.Read.All
-
Now select Delegated permissions and include the following requirement from the list of permissions:
-
User.Read
- To enable Password Reset Task with Microsoft Entra ID, add the following permissions:
With a Shadow Account:
Add User Administrator role to the user mapped to the Shadow Account record.
Add the following App permissions:
User.ReadWrite.All
Directory.AccessAsUser.All
Without a Shadow Account:
Add delegated permission:
Directory.AccessAsUser.All
MFA enabled Shadow Accounts are not supported. MFA must be disabled on Entra ID accounts that are to be used for Shadow Account functionality.
To add support for self password reset from Management > My Profile page, include the following delegated permission:
- Directory.AccessAsUser.All
-
The client app is now ready to be configured on PAM.

-
Configure PAM: Edit $PAM_HOME/web/conf/catalina.properties and add the following properties with the values from Steps 2 & 4:
-
For Windows, substitute your Client Secret Value with {SECRET VALUE} and issue this command from $PAM_HOME:
-
For Unix, substitute your Client Secret Value with {SECRET VALUE} and issue this command from $PAM_HOME:
-
Restart Pammanager (Linux) or pammanagement service on Windows.
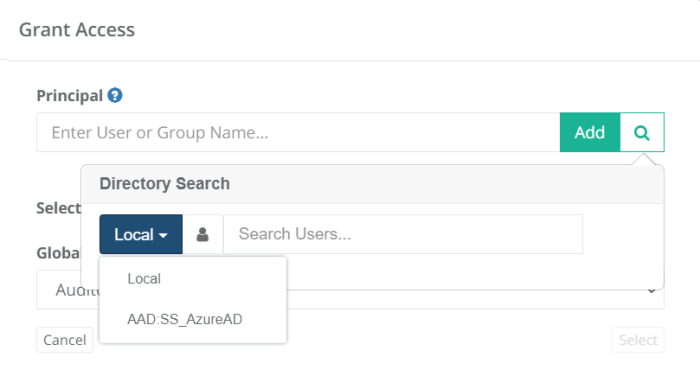
Test the integration: You should now see the unique name configured in catalina.properties azureAD[1].name={unique name} in the drop down when searching for AD users from the Global Users, Permissions or Local Groups > Add member popup.
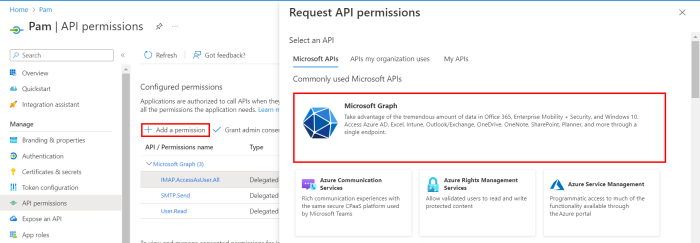
From the Request API permissions tab select Microsoft Graph:
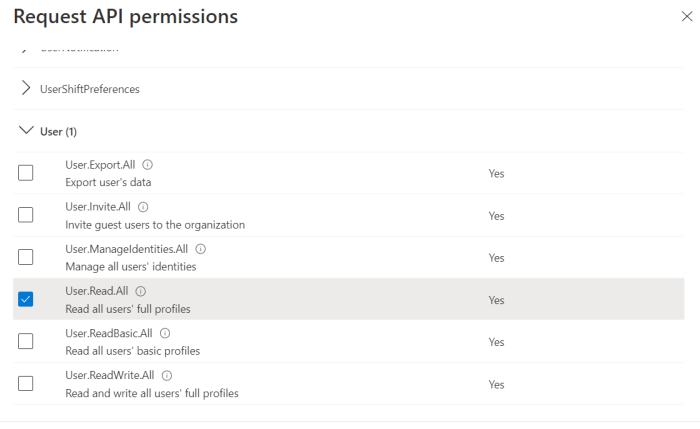
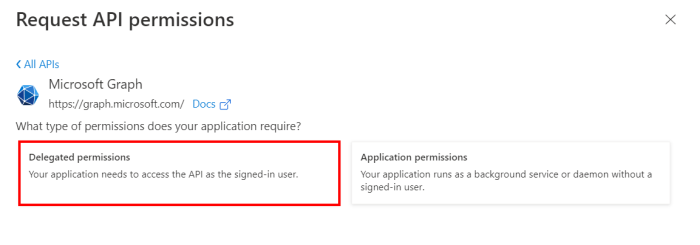
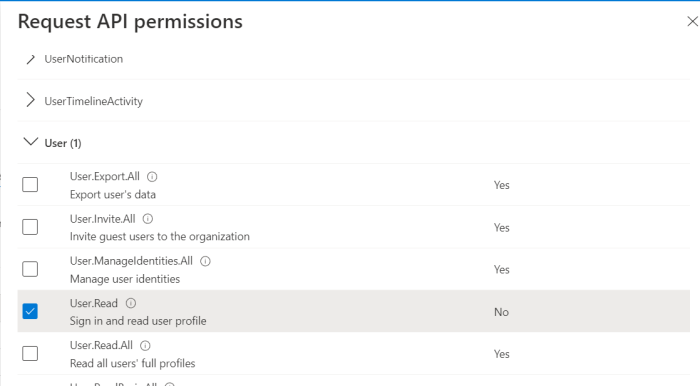
Once all necessary permissions are selected, click on Add permissions:
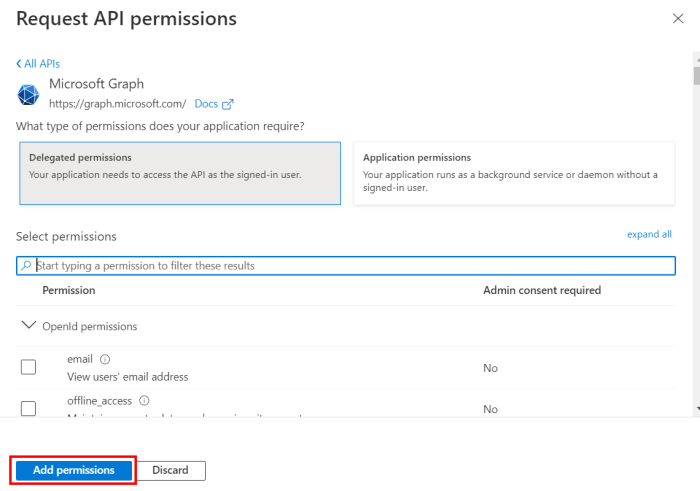
Note: This step must be done by an admin user.
#Azure AD
azureAD[0].name={unique name}
azureAD[0].tenantID=00000000-0000-0000-0000-000000000000
azureAD[0].clientID=00000000-0000-0000-0000-000000000000
azureAD[0].secretValue={AES256},{73dMf0bkaTVHjM73pR6l4yHRzSU=},{vuErr/+HSD/RdKFqmtSi oQ==},{AgDH95leDji01KJ2jHnhV8FKU0g8xZW+N+RVbMKmGbLrraqkooqhiOy+nsH//7nO} Note: In order to add multiple domains, copy and add the same properties and increment the index value.
#Azure AD
azureAD[1].name={unique name}
azureAD[1].tenantID=00000000-0000-0000-0000-0000000000010
azureAD[1].clientID=00000000-0000-0000-0000-000000000001
azureAD[1].secretValue={AES256},{73dMf0bkaTVHjM73pR6l4yHRzSU=},{vuErr/+HSD/RdKFqmtSi oQ==},{AgDH95leDji01KJ2jHnhV8FKU0g8xZW+N+RVbMKm3bLrraqkooqhiOy+nsH//7rO} Note: For best practice it is recommended to encrypt your Client Secret Value by using the command below. This will generate your encrypted secret value which will be used in the catalina.properties. Using the default Client Secret Value which was copied in step 4, is supported as well in this field.
bin\PamDirectory Encrypt {SECRET VALUE}bin/PamDirectory.sh Encrypt {SECRET VALUE}Copy the newly generated encrypted value and insert it to the property shown below:
azureAD[0].secretValue={ENCRYPTED SECRET}