ADFS Integration
A self-hosted Active Directory Federation Services (ADFS) is a service provided by Microsoft that provides a web login using your existing Active Directory credentials.
PAM supports integration with single sign-on (SSO) logins through a SAML 2.0 identity provider (IDP) like those of ADFS to provide authentication services.
Requirements
Before you begin to integrate PAM with your ADFS, be sure you met the following pre-requisities:
- A working PAM deployment with the Federated Sign-In experience. The PAM Federated Sign-In module provides the required SAML 2.0 web login functionality.
- A working PAM deployment with Active Directory integration. The Active Directory integration provides the security for users and groups in PAM after they are authenticated via ADFS.
- Access to your existing PAM host server. You will need to update a configuration file, certificates and restart services.
- Access to your existing ADFS Management module for Active Directory. You will need to create a new Relying Party Trust.
- Your ADFS certificate to sign the login experience.
Configuring and installing ADFS is beyond the scope of this article, so we will provide a link to this Microsoft KB article for detailed information.
Step 1: Download your ADFS Federation Metadata File to PAM
- Login to your PAM host server and open your browser.
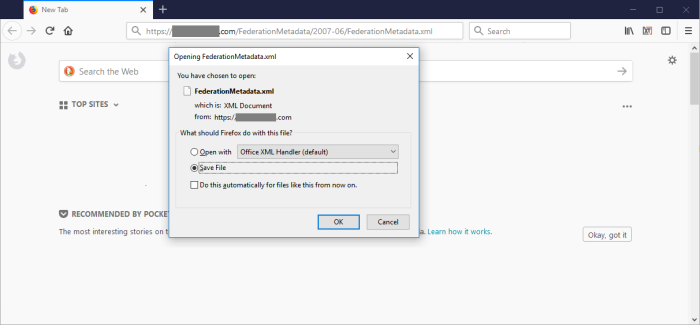
- Download and Save your ADFS Metadata .xml file to $PAM_HOME/content/keys. This file can be found in this example location: https://<ADFS_hostname>/FederationMetadata/2007-06/FederationMetadata.xml
Step 2: Import your ADFS Self-Signed Certificate to PAM
If your ADFS deployment is using a self-signed certificate, then continue with this step. Otherwise, skip step 2 and proceed to step 3.
- Export your self-signed certificate, copy it to your PAM host server and paste it to $PAM_HOME/content/keys.
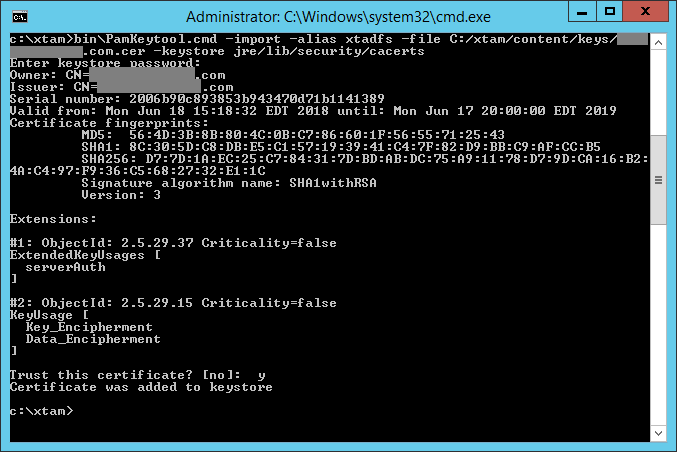
- Open a command line and navigate to the folder where PAM is installed $PAM_HOME and issue the following command:
For Windows, substitute PATH_TO_CERTIFICATE_FILE.cer with the location and name of the self-signed .cer certificate file to be imported and used by PAM.
Copybin\PamKeytool.cmd -import -alias xtadfs -file PATH_TO_CERTIFICATE_FILE.cer -keystore jre\lib\security\cacertsFor Unix or Linux, substitute PATH_TO_CERTIFICATE_FILE.cer with the location and name of the self-signed .cer certificate file to be imported and used by PAM.
Copybin/PamKeytool.sh -import -alias xtadfs -file PATH_TO_CERTIFICATE_FILE.cer -keystore jre/lib/security/cacerts
-
After the command is issued, you will be prompted for the keystore password. Enter the value changeit and press the Enter key to continue.
-
When prompted Trust this certificate? enter y and press the Enter key. You will receive the message Certificate was added to keystore when it has imported successfully.
Step 3: PAM Configuration
This step describes the process required to modify PAM configuration in order to identify your ADFS provider.
- Open the following file in a text editor $PAM_HOME/web/conf/catalina.properties
-
cas.authn.pac4j.saml[0].sign-service-provider-logout-request=true
- Locate the section labeled # CAS and add the following lines:
-
In the lines above, the following {placeholders} need to be updated using your own values as explained here:
- cas.server.name={managed_path} — Your PAM host name. For example, https://pam.company.com
- cas.server.prefix={managed_path}/cas — Your PAM host name. For example, https://pam.company.com
- cas.authn.pac4j.saml[0].serviceProviderEntityId={managed_path} — Your PAM host name. For example, https://pam.company.com
- cas.authn.pac4j.saml[0].serviceProviderMetadataPath={FederationMetadata.xml} — The full path and file name of the FederationMetadata.xml file that was saved in step (1). For example, $PAM_HOME/content/keys/FederationMetadata.xml (use forward slashes not backslashes)
- cas.authn.pac4j.saml[0].keystorePath={samlKeystore.jks} — Define a path and name for the PAM auto-generated key. For example, $PAM_HOME/content/keys/samlKeystore.jks (use forward slashes not backslashes)
- cas.authn.pac4j.saml[0].keystorePassword={password} — Create an alphanumeric password. Any value you want to enter.
- cas.authn.pac4j.saml[0].privateKeyPassword={password} — Create an alphanumeric password. Any value you want to enter.
- cas.authn.pac4j.saml[0].identityProviderMetadataPath={path} — Copy and paste the full URL from your Identity Provider Metadata used in step (1). For example, https://<ADFS_hostname>/FederationMetadata/2007-06/FederationMetadata.xml
-
Setup Azure SSO App at Azure portal.
-
Add properties for #Azure SSO SAML to the following file $PAM_HOME/web/conf/catalina.properties in a text editor (be sure the index [0] will be the first in indexes for your cas.authn.pac4j.saml settings).
-
Re-enable login and password in the workflow using user interface or RDP/SSH.
- When finished, save and close this file.
-
Restart the PamManagement (Windows) or the pammanager (Linux) service.
-
After the service restarts, open a browser and navigate to the PAM login page. If the PAM login page is already open, then simply refresh this page.
-
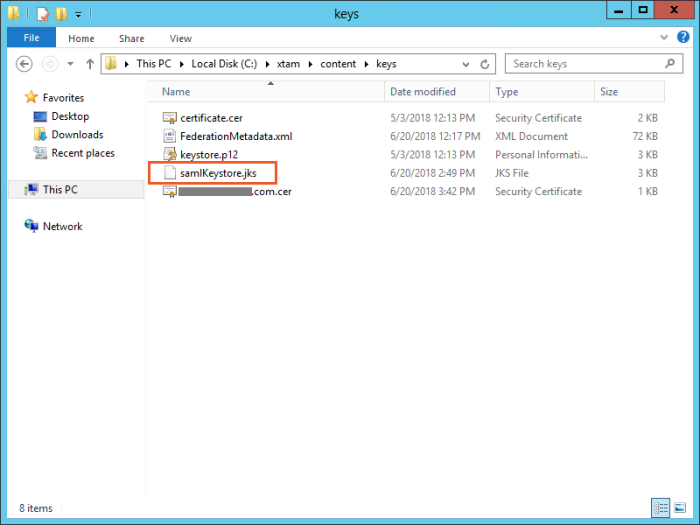
Open your file explorer, navigate to $PAM_HOME/content/keys and ensure that the samlKeystore.jks file was created. If the file is not present, then login to PAM using a non-ADFS account and check again.
cas.server.name={managed_path}
cas.server.prefix={managed_path}/cas
cas.authn.pac4j.saml[0].clientName=ADFS
cas.authn.pac4j.saml[0].serviceProviderEntityId={managed_path}
cas.authn.pac4j.saml[0].serviceProviderMetadataPath={FederationMetadata.xml}
cas.authn.pac4j.saml[0].keystorePath={samlKeystore.jks}
cas.authn.pac4j.saml[0].keystorePassword={password}
cas.authn.pac4j.saml[0].privateKeyPassword={password}
cas.authn.pac4j.saml[0].identityProviderMetadataPath={path}To enable the MFA Push/OTP notifications for authentication flow which using the Active Directory Federation Service (ADFS) needs specify Azure SSO SAML follow the steps:
Please note, if you made changes around SSO parameters to the $PAM_HOME/web/conf/catalina.properties file with the previously generated .xml and .jks files, you need to regenerate those files to apply the new changes.
Step 4: Generate an PAM Certificate
This step will generate an PAM certificate to be used later as the Signature in your ADFS Relying Partner Trust.
- On the PAM host server, open a command line and navigate to the folder where PAM is installed $PAM_HOME and issue the following command:
For Windows:
Copybin\PamKeytool.cmd -keystore content\keys\samlKeystore.jks -export -alias saml2clientconfiguration -file content\keys\adfsxtam.cerFor Unix or Linux:
Copybin\PamKeytool.sh -keystore content/keys/samlKeystore.jks -export -alias saml2filesystemkeystoregenerator -file content/keys/adfsxtam.cer
-
When prompted for the keystore password, enter the password you supplied in Step 3 Bullet 3f (cas.authn.pac4j.saml[0].keystorePassword={password}).

-
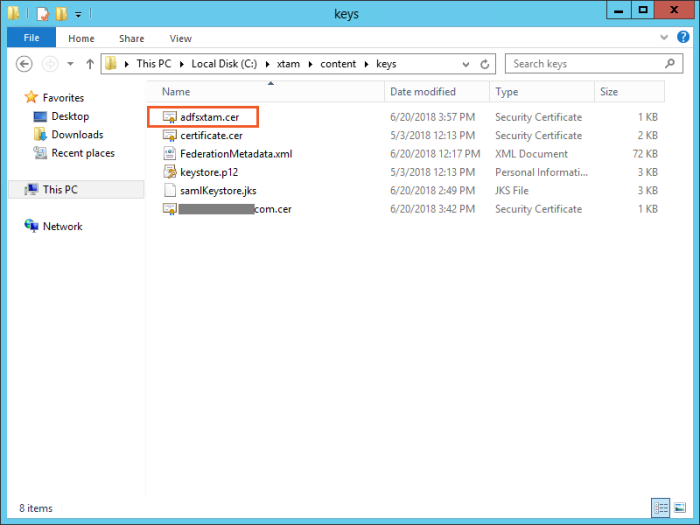
The PAM certificate will be generated and saved to $PAM_HOMEcontent/keys/adfsxtam.cer. Locate and then Copy this certificate file to your ADFS server.
Step 5: Create an ADFS Relying Party Trust for PAM
This section will describe how to create a new Relying Party Trust for PAM to use for the integration. The connection between ADFS and PAM is defined using this Relying Party Trust (RPT).
- Login to your ADFS server.
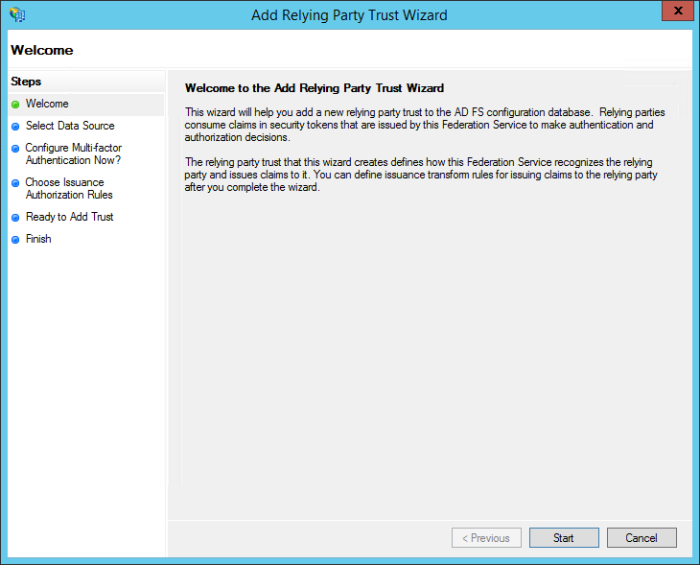
- Open your AD FS Management snap-in and click the Add Relying Party Trust… link to open the wizard. On the wizard’s Welcome screen, click the Start button to begin.
-
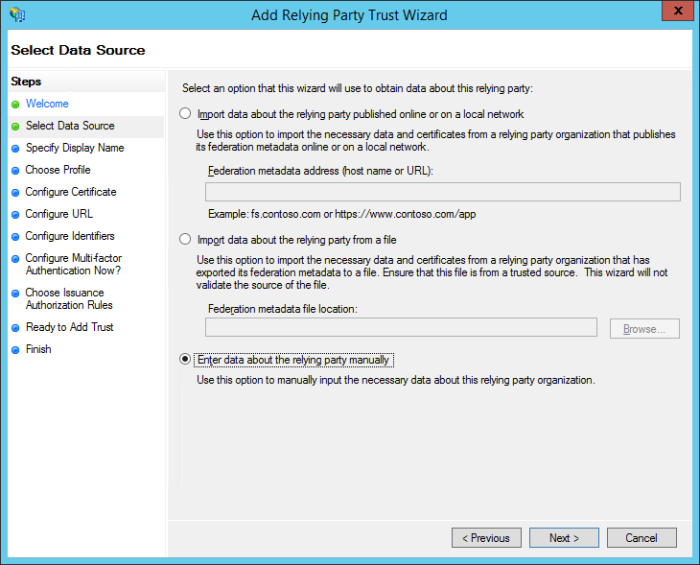
On the Select Data Source screen, select the last option, Enter data about the relying party manually and then click Next.
-
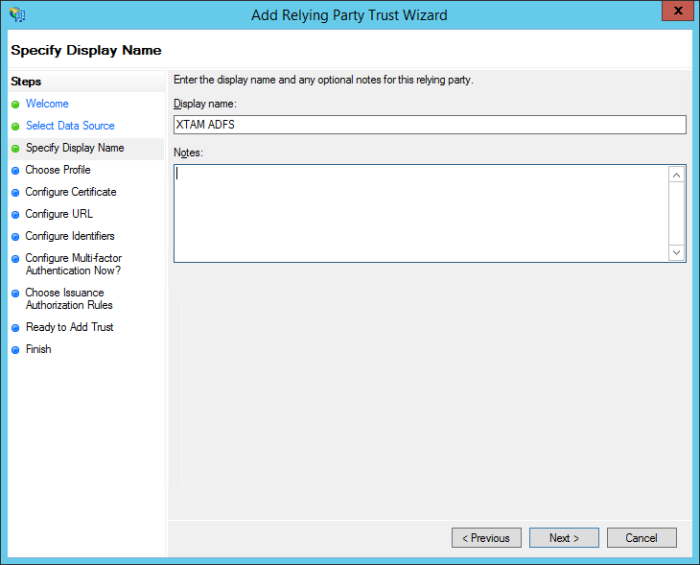
On the Specify Display Name screen, enter a Display name that you’ll recognize and optionally any Notes you wish to include and then click Next.
-
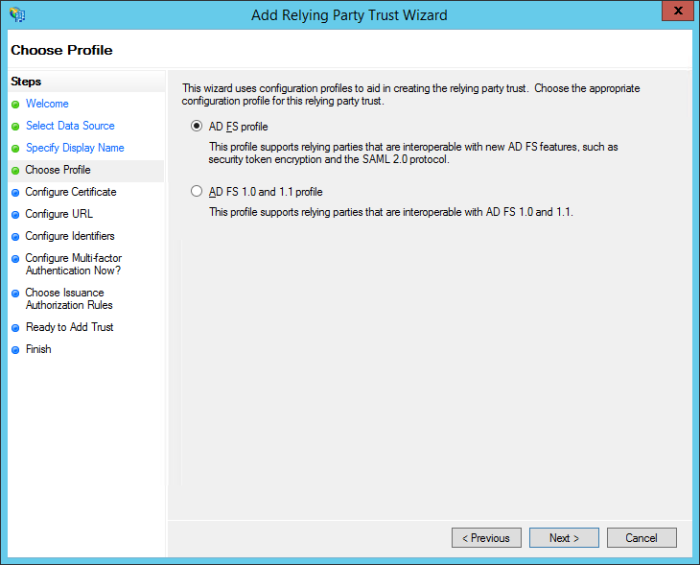
On the Choose Profile screen, select the AD FS profile radio button and then click Next.
-
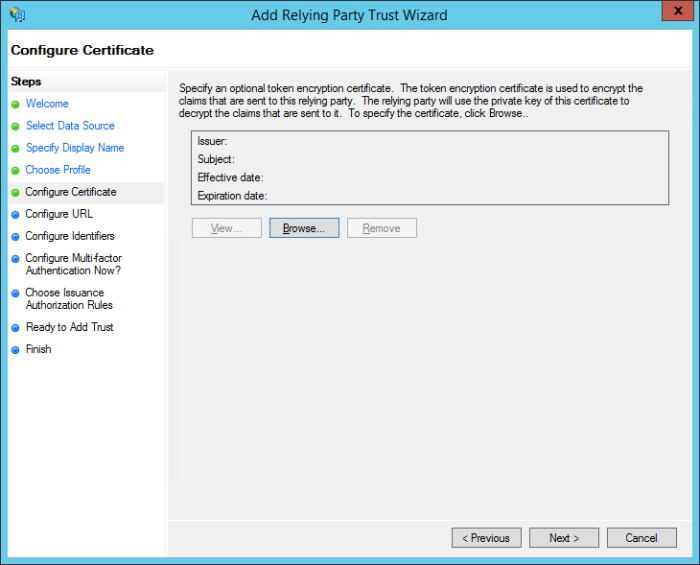
On the Configure Certificate screen, leave the certificate settings at their defaults and then click Next.
-
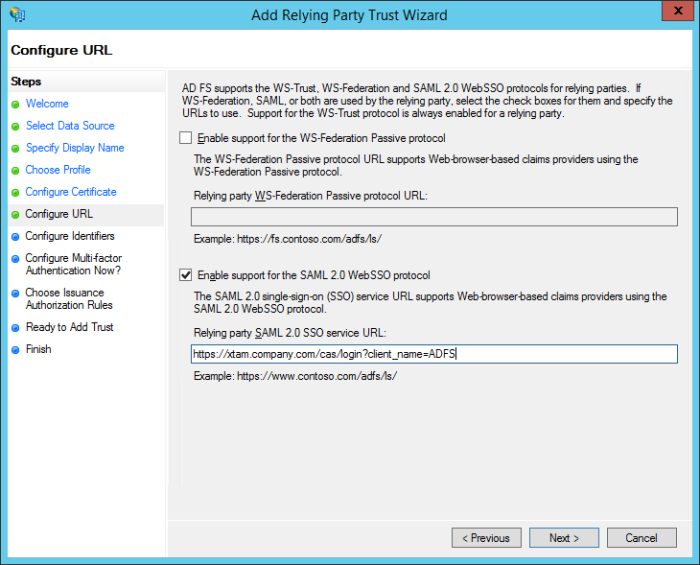
On the Configure URL screen, check the box labeled Enable support for the SAML 2.0 WebSSO protocol. The relying party service URL will be your {managed path} defined previously plus /cas/login?client_name=ADFS. For example, https://xtam.company.com/cas/login?client_name=ADFS. Click Next to continue.
-
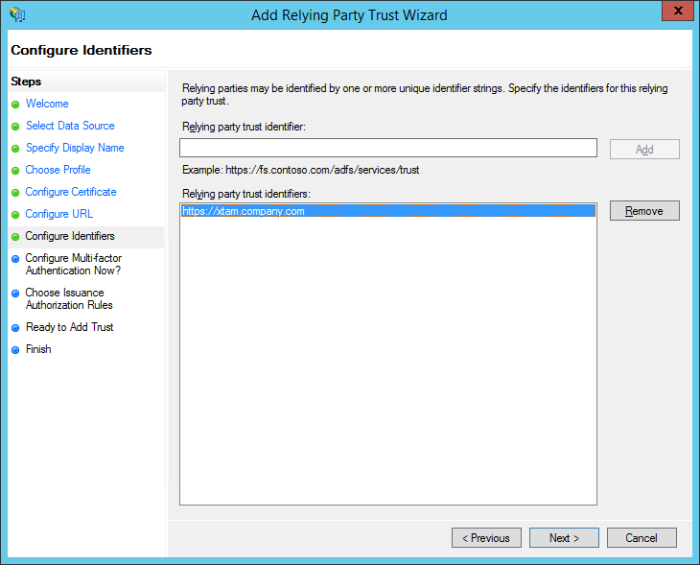
On the Configure Identifiers screen, enter your {managed path} URL and then click the Add button. For example, https://xtam.company.com
Note that this URL must match exactly to what was used previously. Click Next to continue.
-
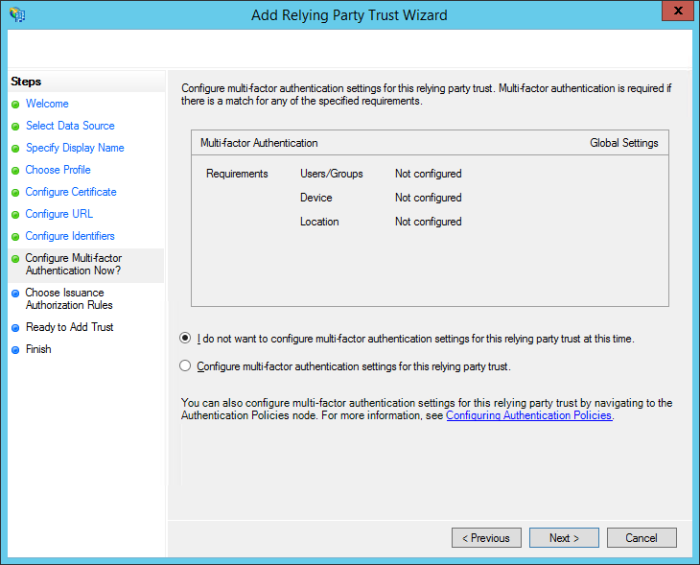
On the next screen, you may configure multi-factor authentication if desired, but for this article we will enable the I do not want to configure multi-factor authentication settings for this relying party trust at this time and then click Next to continue.
-
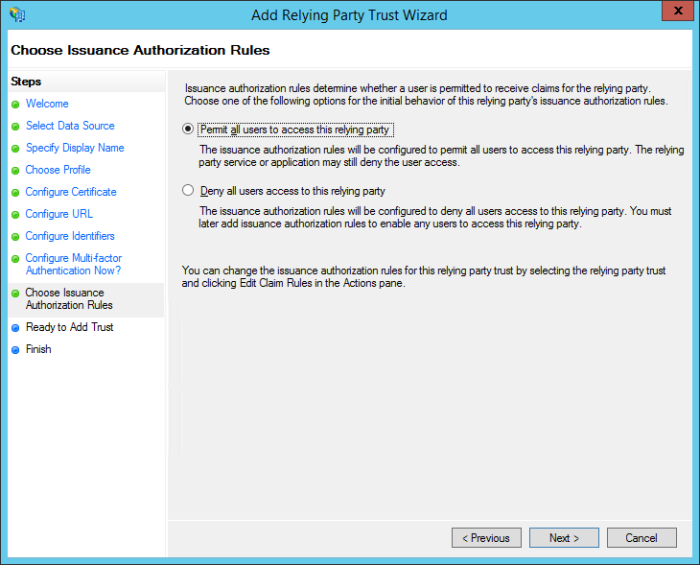
On the Choose Issuance Authorization Rules screen, select the Permit all users to access this relying party radio button and then click Next.
-
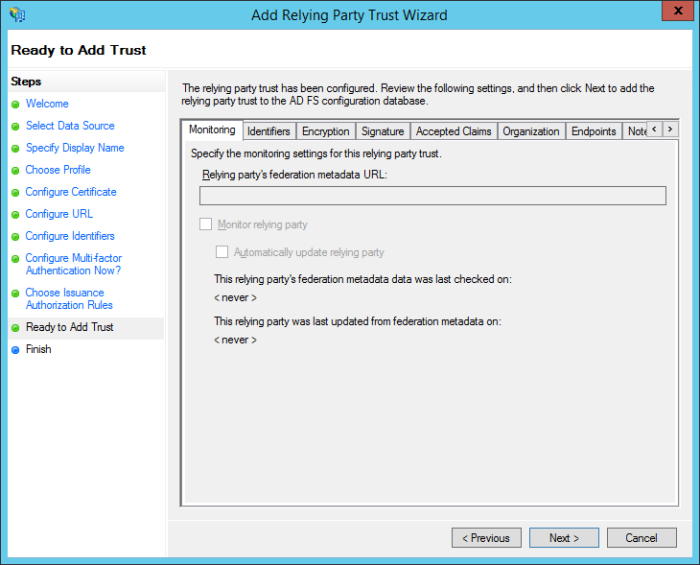
On the Ready to Add Trust screen, review your settings and then click Next to continue.
-
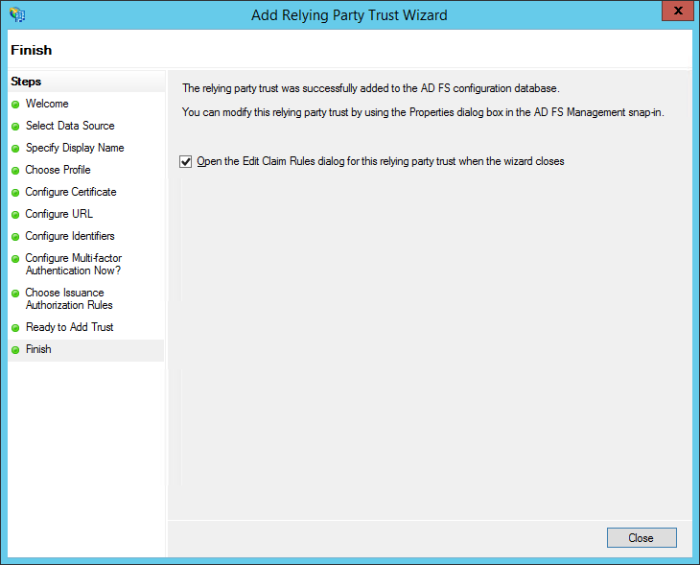
On the Finish screen, ensure the Open the Edit Claims Rules dialog option is checked and then click the Close button to continue.
Step 6: Create your ADFS Relying Party Trust Claim Rules
The Edit Claims Rules for your new Relying Trust will open automatically.
If it does not open automatically, select your RPT from the list and then click the Edit Claims Rules options in the Actions menu.
We will now configure a rule to finalize the ADFS integration.
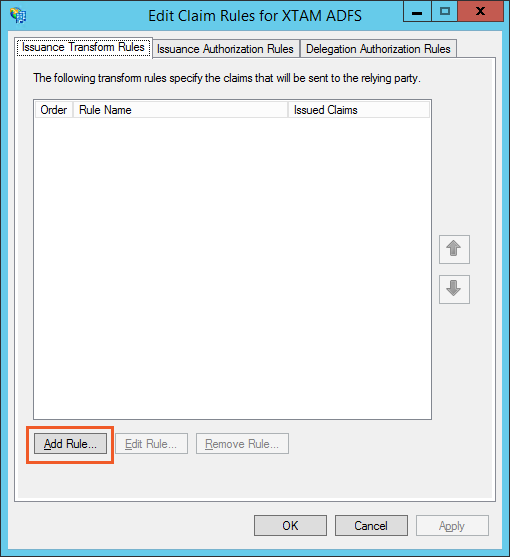
- On the Issuance Transform Rules tab, click on the Add Rule button.
-
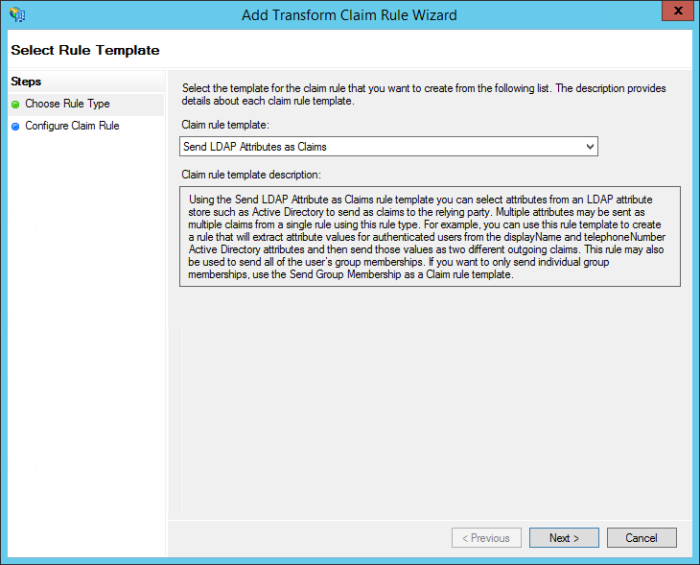
In the Add Transform Claim Rule Wizard, on the Choose Rule Type page, select Send LDAP Attributes as Claims for the Claim rule template. Click Next to continue.
-
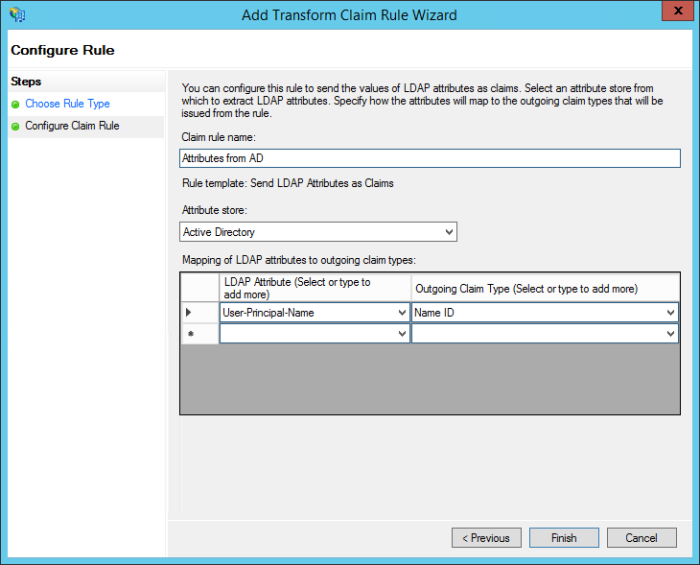
On the Configure Rule screen, enter Attributes from AD as the Claims rule name.
-
On the Configure Rule screen, select Active Directory from the Attribute store dropdown.
-
On the Configure Rule screen, from the LDAP Attribute column, select User-Principal-Name.
-
On the Configure Rule screen, from the Outgoing Claim Type column, select Name ID.
-
Click the Finish button to continue.
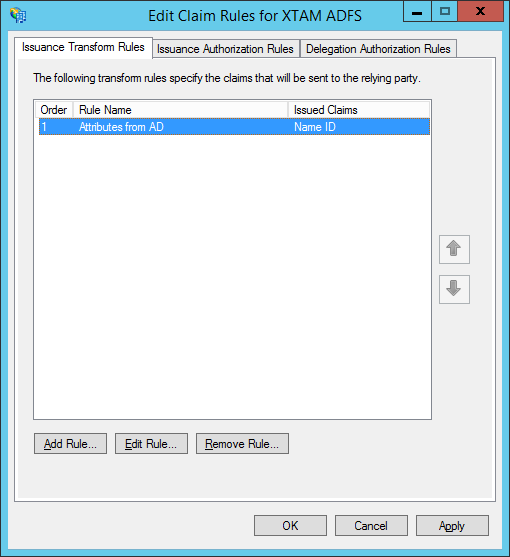
- When you return to the Edit Claims Rule dialog, click its OK button to complete the creation of your rules.
Step 7: Add the PAM Certificate to your RPT
In this step, we will add the PAM certificate that we previously generated to your new RPT.
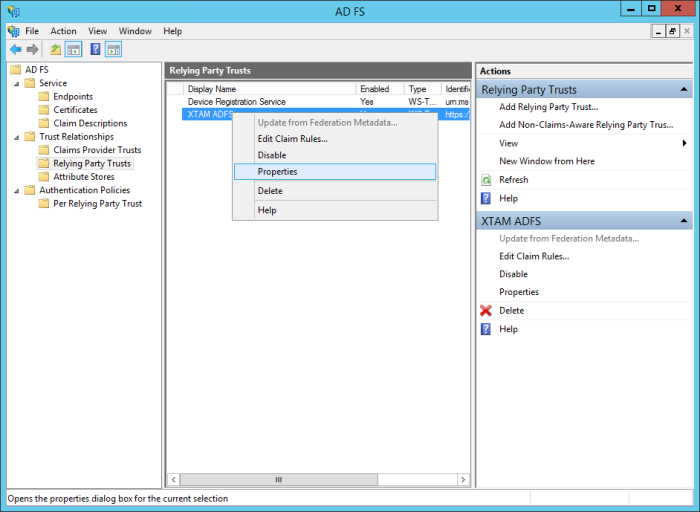
- In the ADFS Management snap-in, navigate to the ADFS > Trust Relationships > Relying Party Trusts section in the menu.
- Select your newly created RPT from the list, then right click and choose Properties.
-
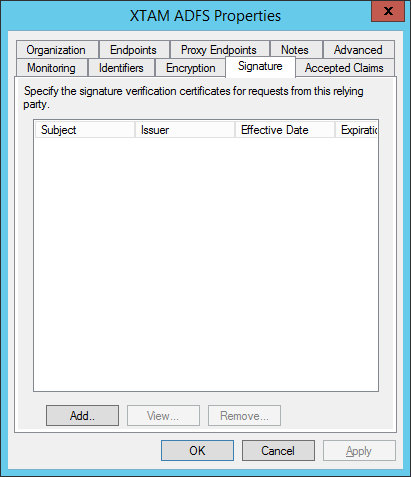
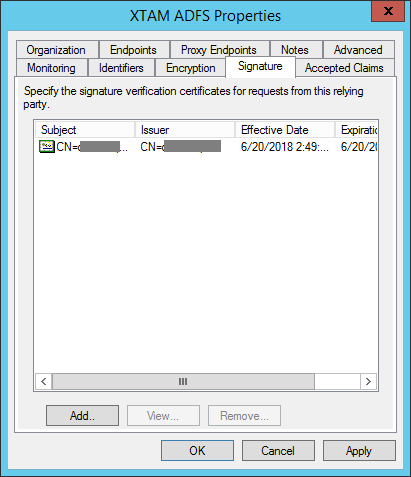
When the Properties dialog appears, click on the Signature tab.
-
Click the Add button to add your PAM certificate.
-
In the Select a Request Signature Verification Certificate dialog, locate and select your adfsxtam.cer file (the one we generated in step 4) and then click Open.
-
Your certificate will now be listed in the Signature table. Click the OK button to complete this step.
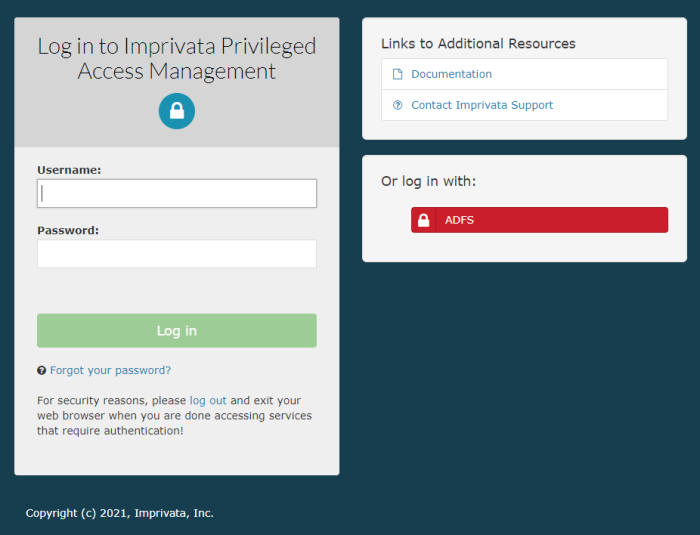
And that is it. You should now have a working ADFS SSO implementation for your PAM deployment. Return to your PAM login page, refresh and then click on the new Login with ADFS option on the bottom right to test your integration.
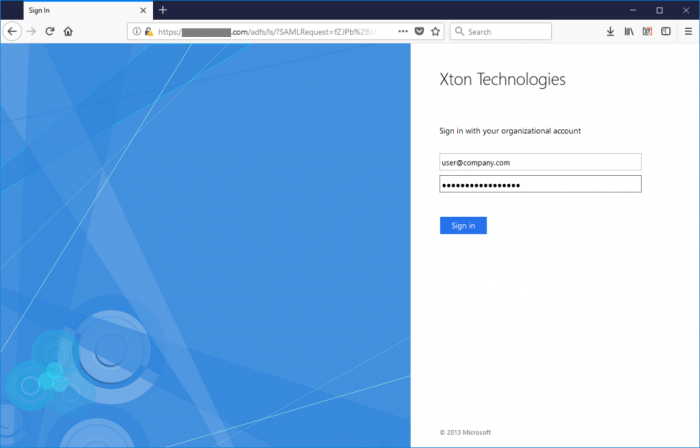
For security reasons, after you logout of PAM, exit or close your web browser to securely complete the operation.
To regenerate .xml and .jks files
-
On the PAM host computer, open the following file in a text editor $PAM_HOME/web/conf/catalina.properties locate the section labeled # CAS and specify the stated location for those files.
-
Remove or delete these previously generated .xml and .jks files from the location.
-
Restart PamManagement (Windows) / pammanager (Linux/Unix) service to regenerate those two .xml and .jks files, so your changes around SSO parameters can apply back to PAM.